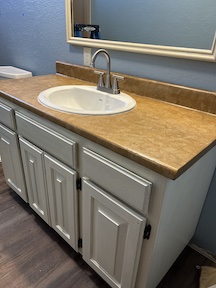
Bathroom Cabinet Redo
I had intended to make my life easy by keeping the bathroom cabinet as it was. I needed to remove it from the bathroom to do the flooring and also needed to replace the old rusting brown sink. Other than that the cabinet, while not something I would prefer, was sturdy and in good shape. However, when I went to remove the old sink I pulled up a good sized piece of the laminate top.
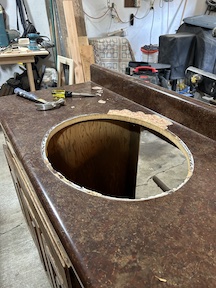
I did a little Pinterest searching for inspiration and saw a posting where someone had removed all the laminate and painted faux stone. It looked really good. It was also a very economical fix and I was really trying to update this bathroom without spending too much. While I was at it, I also made a repair to the side of the cabinet itself. I decided then that the best thing to do was to paint the base also.
This was definitely one of those projects that I began and then wondered what I had got myself into. I decided to use a homemade chalk paint in Navajo white on the cabinet. I chose a light brown for the base of the top. I already had both of these paints on hand and was excited that I was going to save dollars there also. After applying the first coats of paint, I was not impressed at all and really got a sinking feeling that I had made poor choices on this project. Was the whole cabinet and top going to need to be tossed anyway.
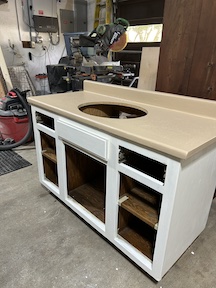
My idea was to distress the cabinet and create a faux stone look on the countertop. I purchased two sample paints in different colors of brown. Here is a picture after the first sponged glaze made of the darker of the two brown paint samples and Flood brand floetrol. I must admit that I was surprised at how that changed the look of the top and was now optimistic that I might not have made a major goof after all.
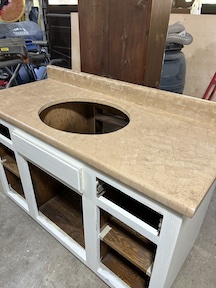
Here is a close up after the second slightly lighter brown glaze was sponged on. I really like how the particle board base gives it a textured rock appearance.
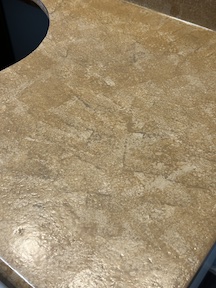
And here is the finished vanity. I applied 3 coats of Varathane Ultimate Polyurethane to the top. It is oil based and hardens nicely. After distressing the cabinet itself, I applied 3 coats of the water based Varathane Ultimate Polyurethane. I am very please with this budget friendly makeover and will really enjoy using the new deeper sink and faucet.
